Hard Light vs Soft Light. What's your Type?
Have you ever felt really cute and took a selfie but was immediately dissatisfied with the results?
Yet, a few steps towards the natural light and BOOM! Your picture is made and ready to be posted on the Gram.
Trust me, we get it! Nothing gives us more life than having the right lighting. It literally sets the mood for any shot. The first thing is to know what type of light your project needs.
Hard light vs. soft light?
Hard light is a specific type of light that is focused and creates specific, intense shadows. This lighting allows you to guide the picture and focus on a specific object. It’s first important to know that you can modify both hard and soft light.
Hard light has harsh shadows because of the contrast and intensity of light.
Soft light is a more balanced light with less intensified shadows. It originates from a larger source which is what allows it to “wrap” around the subject. Because of this, edges are softer and shadows can be minimized.
In contrast, hard light comes from a smaller and more specified source. The specification or origin forges hashers shadows and more obvious edges. If you are looking for a more direct or dramatic feel, then hard light is the way to go.

Hard light example

Soft light example
So when should you use hard and soft light?
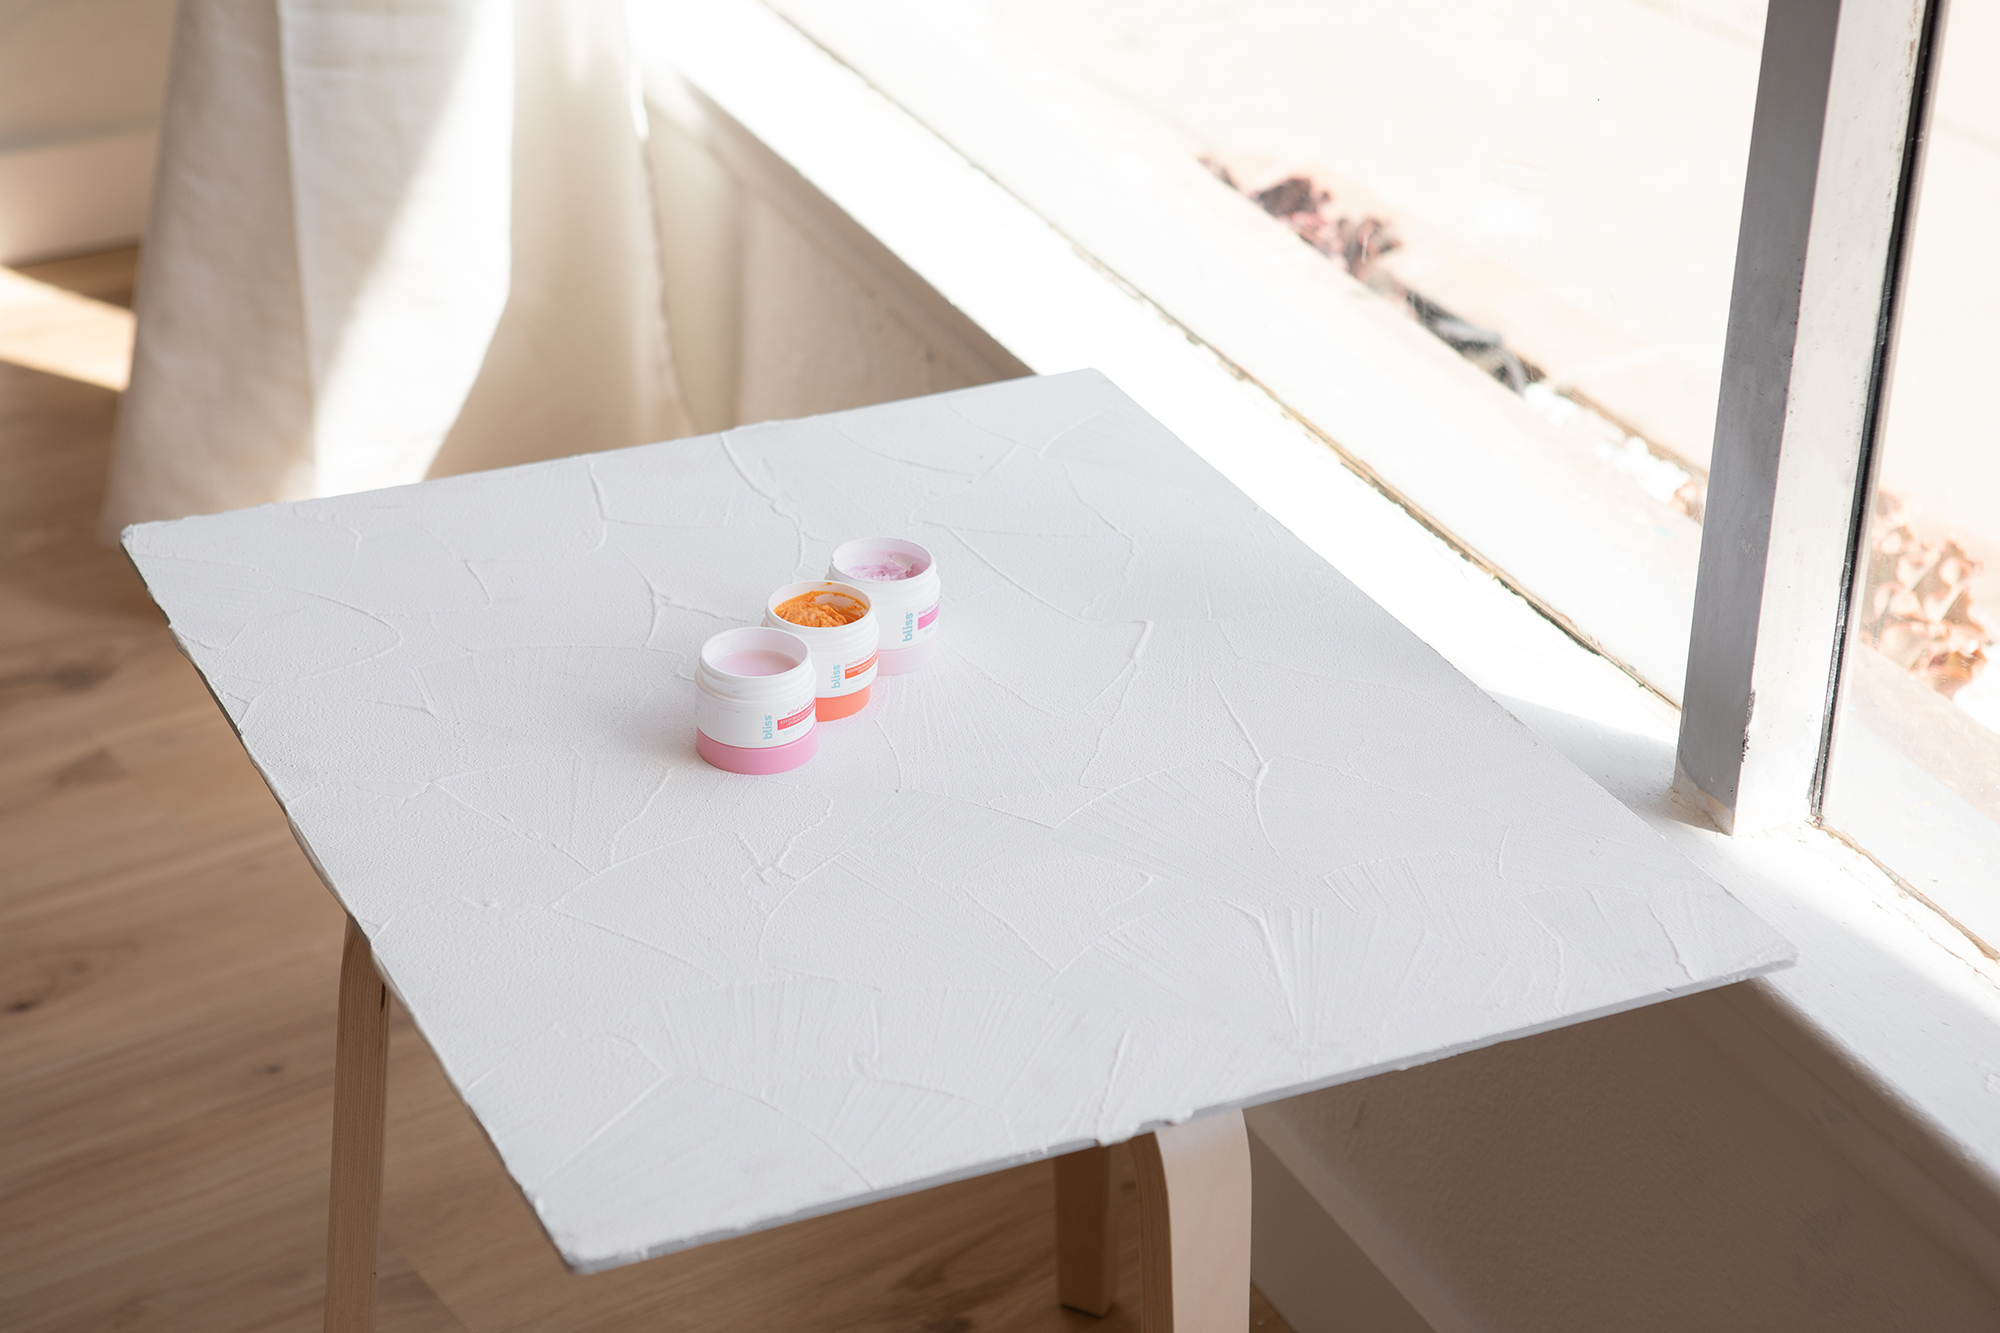
Hard light is great for product photography because it allows you to manipulate the product to highlight its features.
Soft light is great for taking more natural photography such as lifestyle and branding photography. It allows authenticity while capturing the subject.
The type of tools you use can help you manufacture and maintain lighting. Modifying tools are another way to manage lighting.

Tools you can use to add on to hard light are:
Beauty Dish:
This helps to amplify hard light by offering a harsher and direct light. With a beauty dish, you will find intense highlights and shadows which will create a more dramatic effect. This is ideal for beauty photography
Narrow Beam Reflector:
This offers a brighter center and gradual falloff which will create a natural transition of light within your photos
Wide Zoom Reflector:
This creates an equal dispersion of light at a wider angle. This tool can also be used to throw off light from a distance.
Magnum Reflector:
This will help draw the light into the center in a dramatic and smooth way. However, the light quickly drops off as you focus off of the center
White Beauty Dish:
This is the ultimate reflector tool. A white beauty dish will block direct light and reflect with a fairly even spread. This will help achieve a smoother but balanced look
Silver Beauty Dish:
This is the same as the white beauty dish but it produces a brighter and harder quality of light. This will be the choice if between the two you are looking to have a slightly more dramatic and focused effect on your subject.
Ultimately both soft and hard light are needed to capture images.
The two different styles will help you achieve different effects. The most important thing is to first identify the type of look you or your client are going for. Do you want drama or do you want a more subliminal feel? From there, this will inform you how to approach the photos and what tools to be used.